Android TV & STBs
  Interactive screens
  Digital Signage
  Information Kiosk
  Phones, Tablets, and Laptops
  Point Of Sale Devices: PoS/mPOS
  Rugged devices
  Custom devices
  Configuration Management
  Remote Support
  App Management
  Kiosk Mode
  Device Analytics
  Firmware Management
  Geo-fence and Anti-theft
  Customer Care


 TV Operators
  Hospitality
  Education
  Healthcare


Overview
Once you have created a View for digital signage purposes, it is possible to edit the View in the Views Console. Editing the View can entail modifying the content of the View, or changing the devices which will display the View. If you chose a Stream of visual content as your view, by going to the Streams Console, you can also add or remove slides or rearrange the order of the slides.
Note: If the View is presently displaying on a group of devices, any changes that you make in editing the View will not take effect immediately. You will have to first stop the View currently running and start it again with the new content.
To edit an existing view:
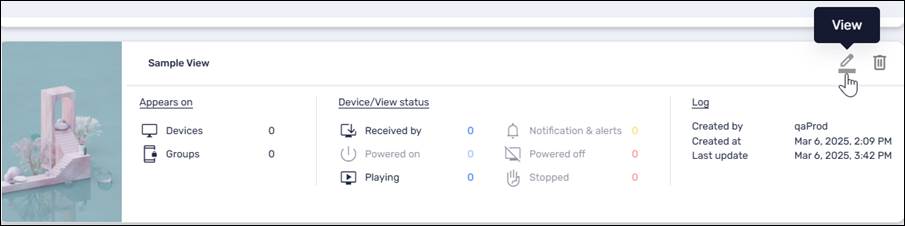
1. Click on the View icon on the specific view you would like to edit.
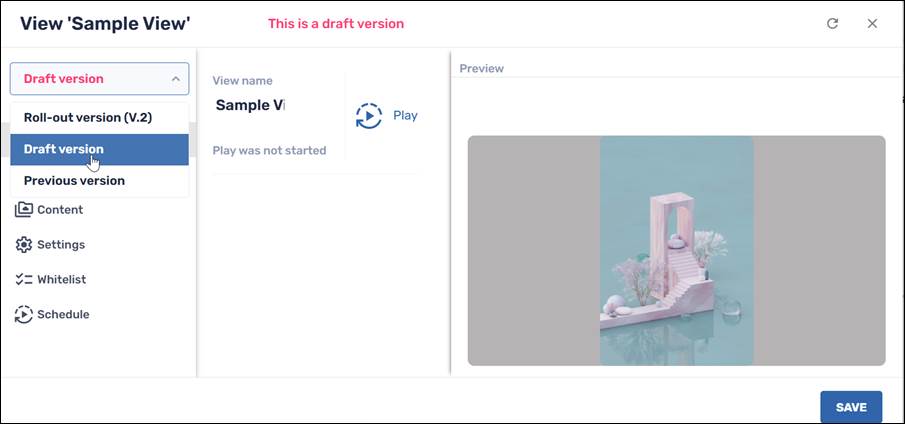
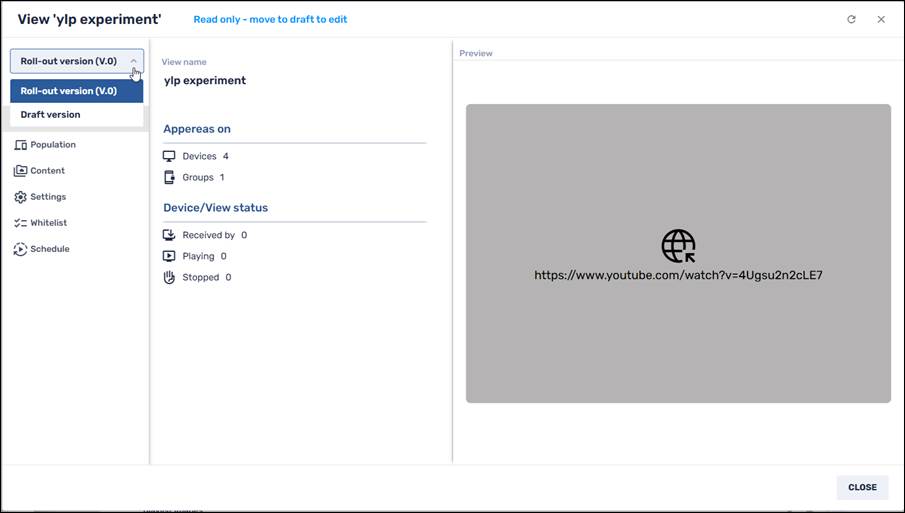
2. The View window opens in Roll-out version. While in Roll-out version, you can see the content of the View, but you will not be able to edit it. To edit the view, go to the drop-down menu in the upper left corner and select Draft version.
3. While in Draft version, you can click through the tabs in the sidebar menu as when creating a view:
View Console Sidebar Menu Options
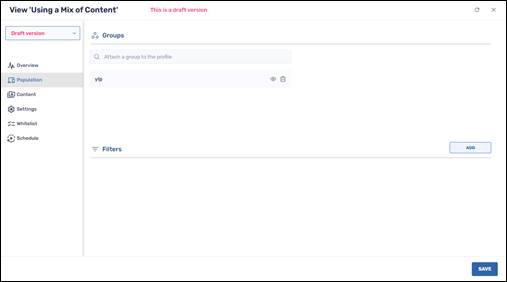
- Population, for associating a group of devices with the View, on which the View will be displayed. In the example below, the View will be displayed on the group “ylp”.
- Content, to choose whether the View will display a URL or a stream, and to specify a URL or stream. In the example below, we have selected the stream “Mix of Content”:
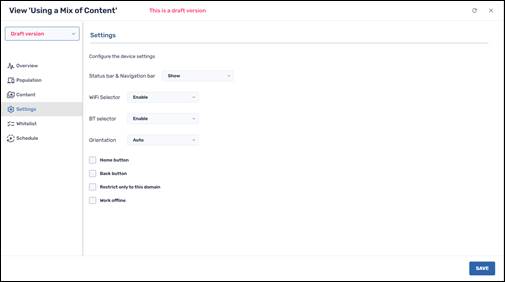
- Settings, to select how to display the View on the remote devices.
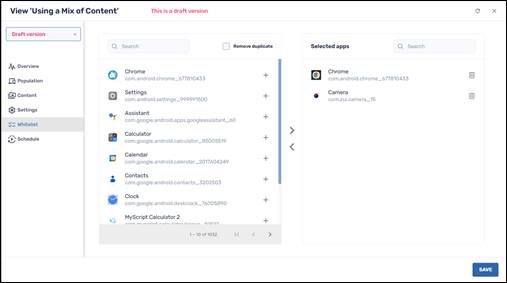
- Whitelist, to select which apps will be accessible while the View is displayed:
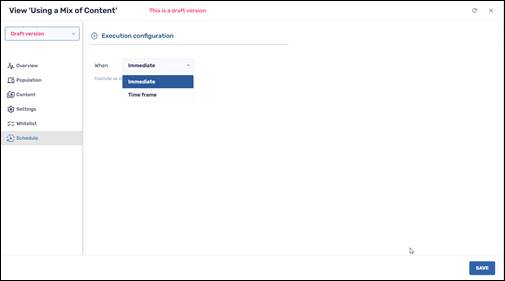
- Schedule, to determine when you wish to start displaying the View. You can choose to display it immediately or to specify a later time.
4. Upon completing the changes to the View, click on Save in the lower right corner. You will receive the following notification, explaining that the changes will go into effect only after you roll out the View.

Activating the View
After editing the View, you must now activate it and sync it with the device group.
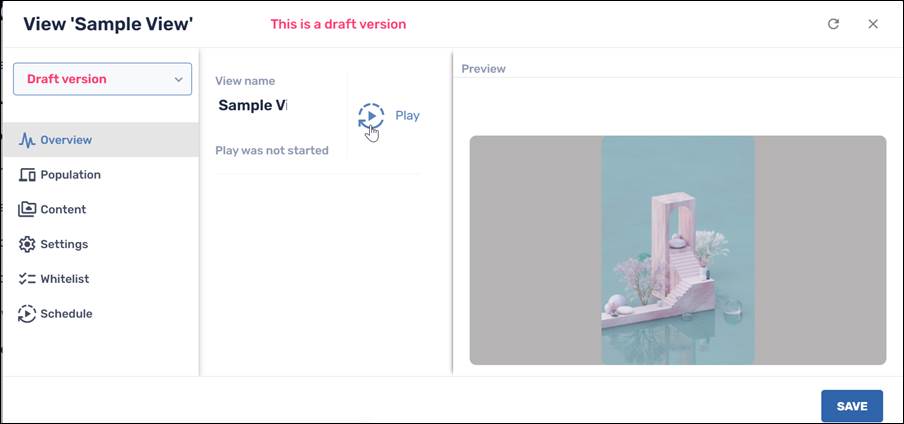
5. To roll out the View, go to the Overview tab and click on Play.
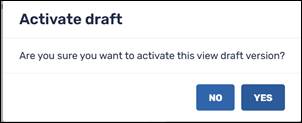
6. You will be prompted if you wish to activate the draft. Click Yes to implement the changes and run the view on the selected group of devices.
Running a View
After you have edited the View and entered all the specifications regarding the content and to which devices you wish to apply the view, you can then run the view. You must first go into Draft mode to run the View, as well as synchronizing the devices with the View profile.
Step One: Going to Draft Version Mode
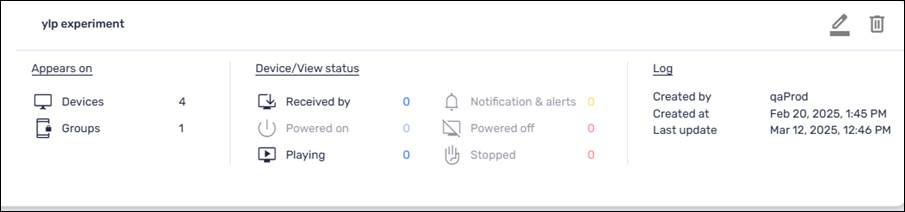
At first, the Views Console displays the available Views in “Roll-out Version”. We see information about the creation of the view, and how many devices currently can display the view.
However, to display a view on remote devices, we first must go into Draft mode.
To display a View:
1. Click on the View icon of the view that you would like to run.

2. Select Draft version in the drop-down list in the upper left corner. When in Draft version mode, you will be able to edit the View, as well as schedule when to play it.
3. In the Overview screen, click on the Play icon.

The interface will ask you to confirm that you want to activate the view.
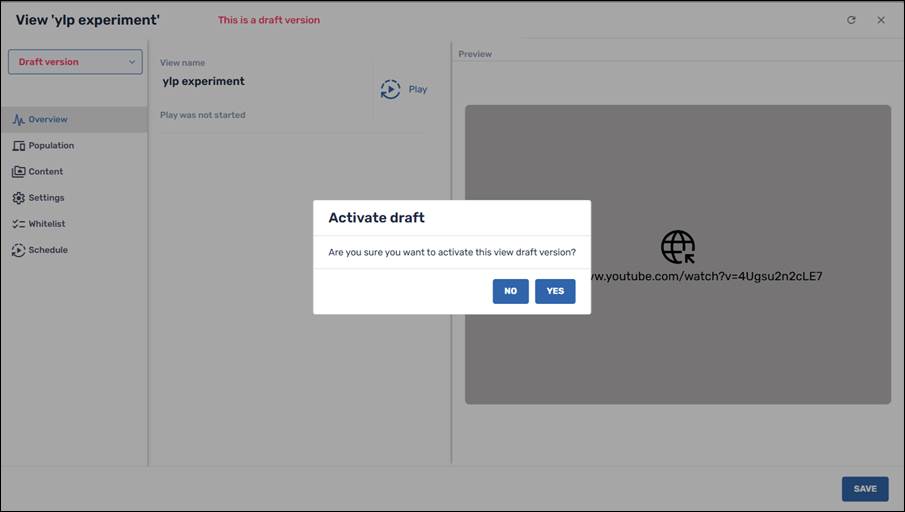
4. Click Yes to run the View.
Step Two: Synchronizing the View with the Group of Devices
In order for the View to display on the remote devices, you must also synchronize the View with the devices in the group. (If you do not perform this step, the remote devices will eventually display the View when the remote devices sync with the server. The server performs this sync automatically once per day.)
1. Click on the Devices icon in the sidebar menu to go to the Devices Console.
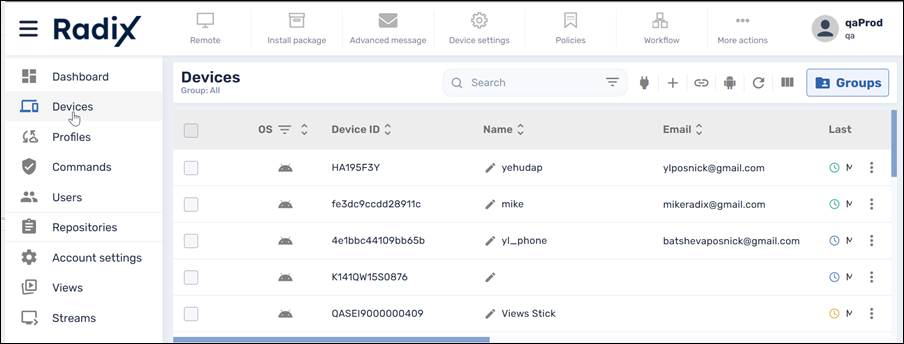
2. Click on Groups on the right, and find the group associated with the View. In our example, it is the group “ylp”.

3. Click on the three-dot menu and select the Remote Execute command.
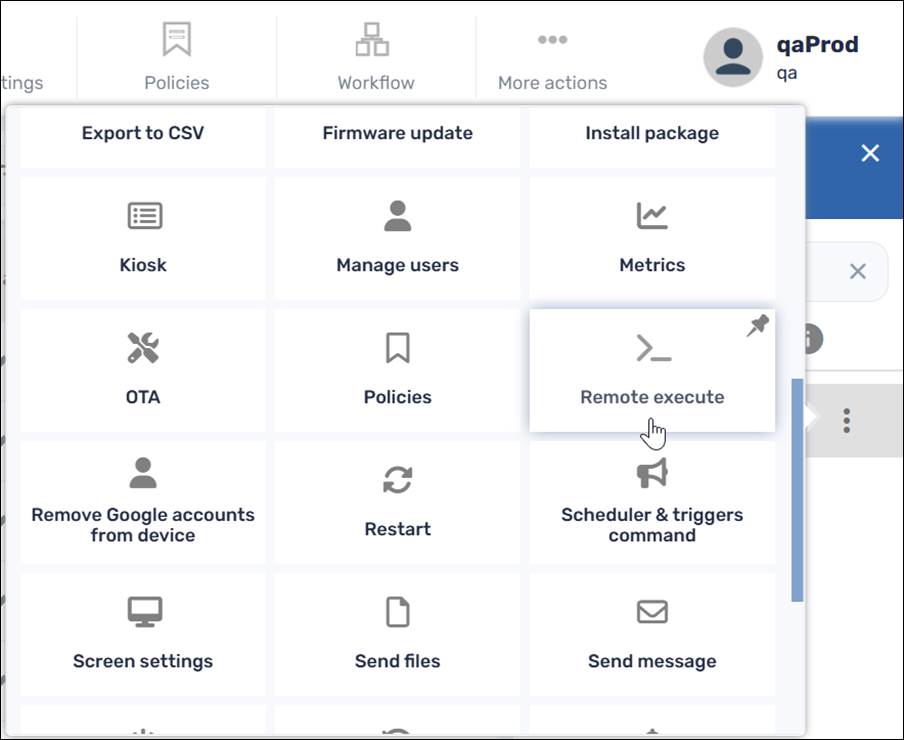
4. Find and select the Sync Profiles remote execute option and click Apply.
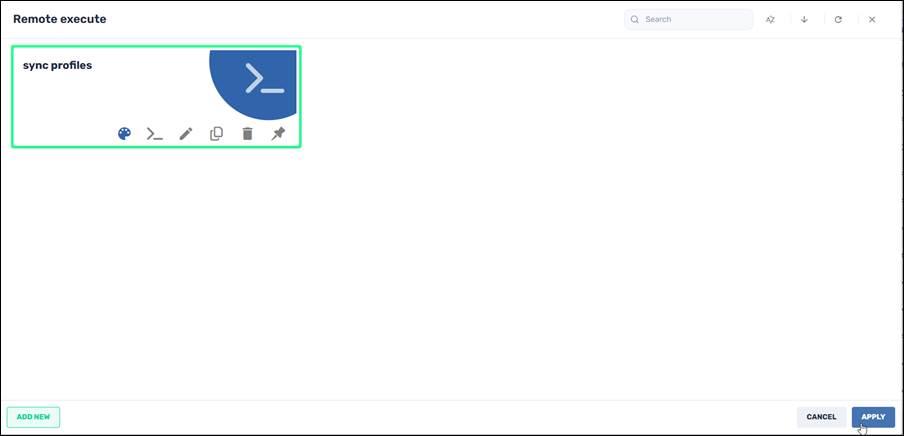
If you don’t have the Sync Profiles option in your repository of Remote Execute commands, you will have to create one.
To create a Sync Profiles command:
1. Click Add New in the lower left corner, and create a new Remote Execute option with the following parameters:

2. Click Confirm to add the new sync profiles command to your repository of Remote Execute commands.
3. As above, click on the three-dots menu of the relevant device group, select Remote Execute, and run the Sync Profiles command.
Once you execute the “sync profiles” command, the devices in the group that you associated with the View in the Population tab will now display the View.
If you also applied a filter in the Population tab, only the devices that satisfy the filter options will display the View.

In our example, the View will only be applied to the devices in the group that are model Lenovo TB-J606F.
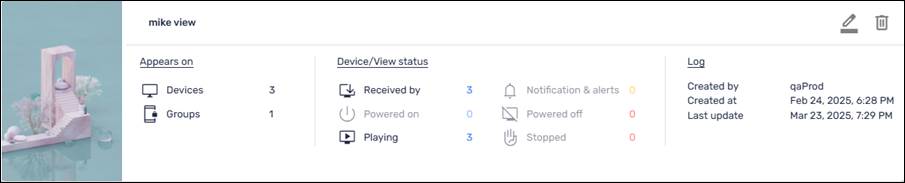
In the Views Console, we will see that the View applies to one group and 4 devices within that group.